Scrap lap steel guitar
25 Feb 2019This post is a little later than usual (ignoring the fact I didn’t post anything last week), mostly because the project I started didn’t get finished till Saturday night.
First a bit of back story. In 2013 I decided that I wanted to build a lap steel guitar, I can’t remember why but given that was 6 years ago I’m not surprised. I brought a nice bit of wood, ordered some cheap parts from Ebay and started on the body. I got most of the way through making the body but then couldn’t decide what I wanted to do for the fret board, and kept putting it off until it got wrapped up and put out of the way.
Fast forward to earlier this month, and I decided I should get around to finishing it. This cause a new problem, that being I didn’t want to put the cheap parts on the nice body, but I didn’t want to buy better parts if I wasn’t going to use it. So, I decided to build a body out of scrap wood, use the parts I had on it and then decide if I want to continue the other one.
The body
I had some cut-off pieces of 12mm plywood so used them to make a thick enough blank. The original plan was to use the red coloured plank as the top, but I decided that I preferred the other side instead.
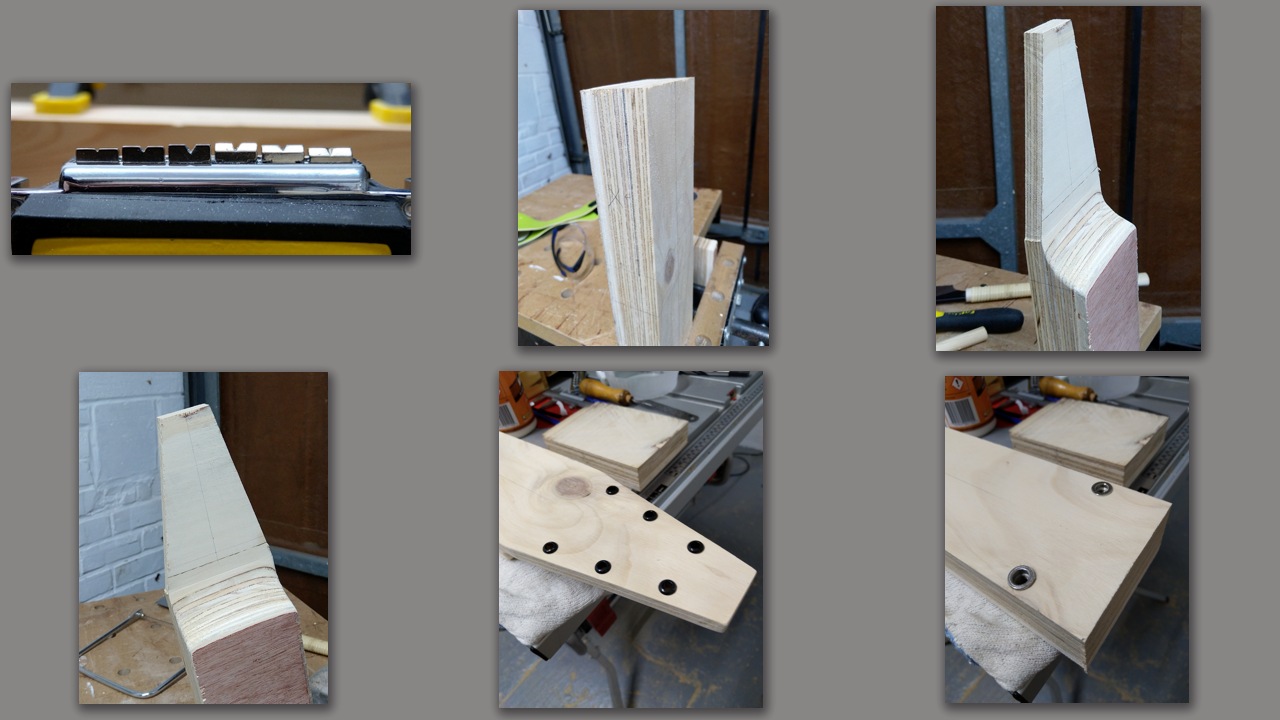
The blank had to be left overnight for the glue to set so I modified the bridge. Normally the slots for the strings are at different heights but this doesn’t work on a lap-steel so they need to be evened out.
I wasn’t going for anything fancy with the shape of the neck so I went for a simple curve and angled sides. Part of the point of this build was to just get it done and not waste time fussing over every decision (like the last one).
Once that was shaped, I had to drill the holes for the tuners and the bridge inserts. Rather than hammering the inserts for the tuners in I used one of my clamps, as they have a ratchet, which seemed like a safer option.
Pickups and covers

Next, I had to decide where to put the pickup. From reading online there’s lots of differing opinions of where they ‘should’ be. Luckily, I came across a post on a site that suggested just holding the pickup above the strings and moving it about until you got a sound you liked.
The helping hands came out again, which made the process a lot simpler.
After that was done, I needed to come up with a simple design for the pickup and control covers and then get them cut.
Getting to this point took the Wednesday I had off and a bit of time on Thursday and Friday night. This left the rest of the work for the weekend.
Boring the body
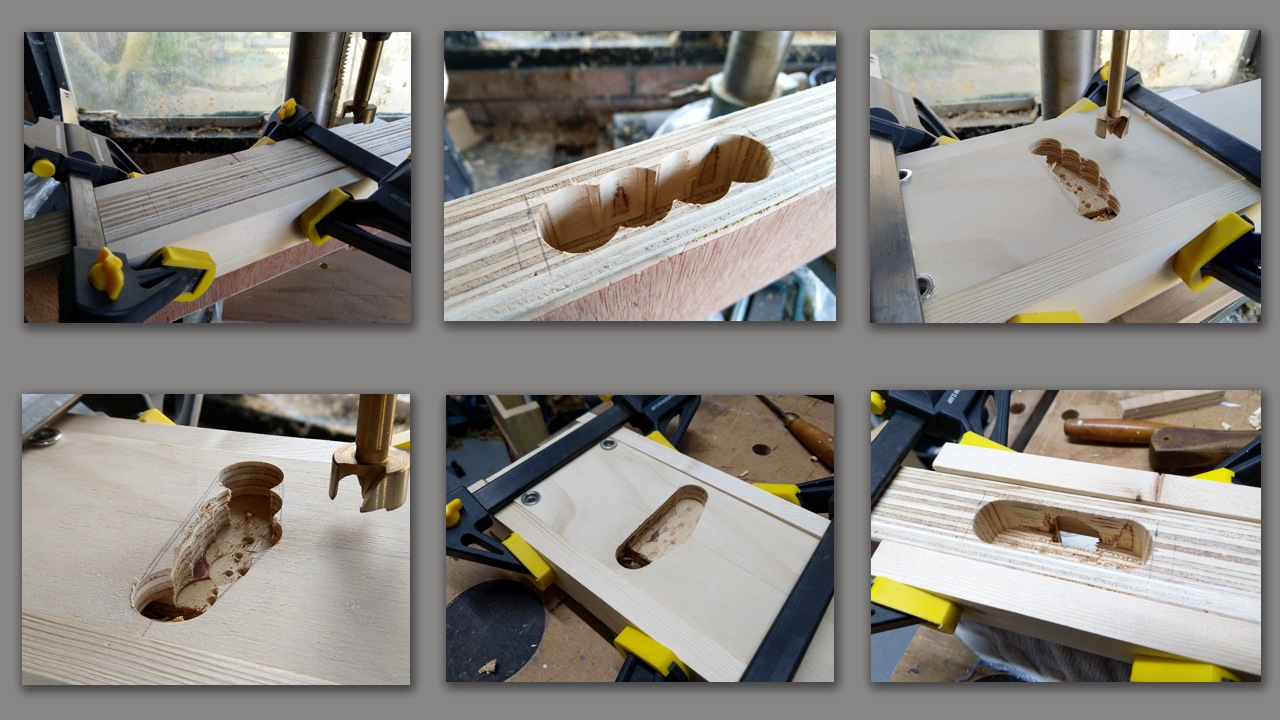
This was the scary bit, but at least I hadn’t put too much time into this body so if it all went wrong, I wouldn’t be too annoyed.
Just to be safe I used some clamps with extra wood to brace the side to prevent it from splitting as I needed to cut into the sides of the ply. This worked fine and the control cavity was cut successfully, which just left the pickup cavity to be cut and both cleaned and tidied up with a chisel.
After that was completed, I had to thin down the pickup and control covers as I made them out of 18mm ply to start with and I thought they needed to be 6mm. A few passes though the table saw quickly had them at the correct thickness, or at least what I thought that was.
Assembly
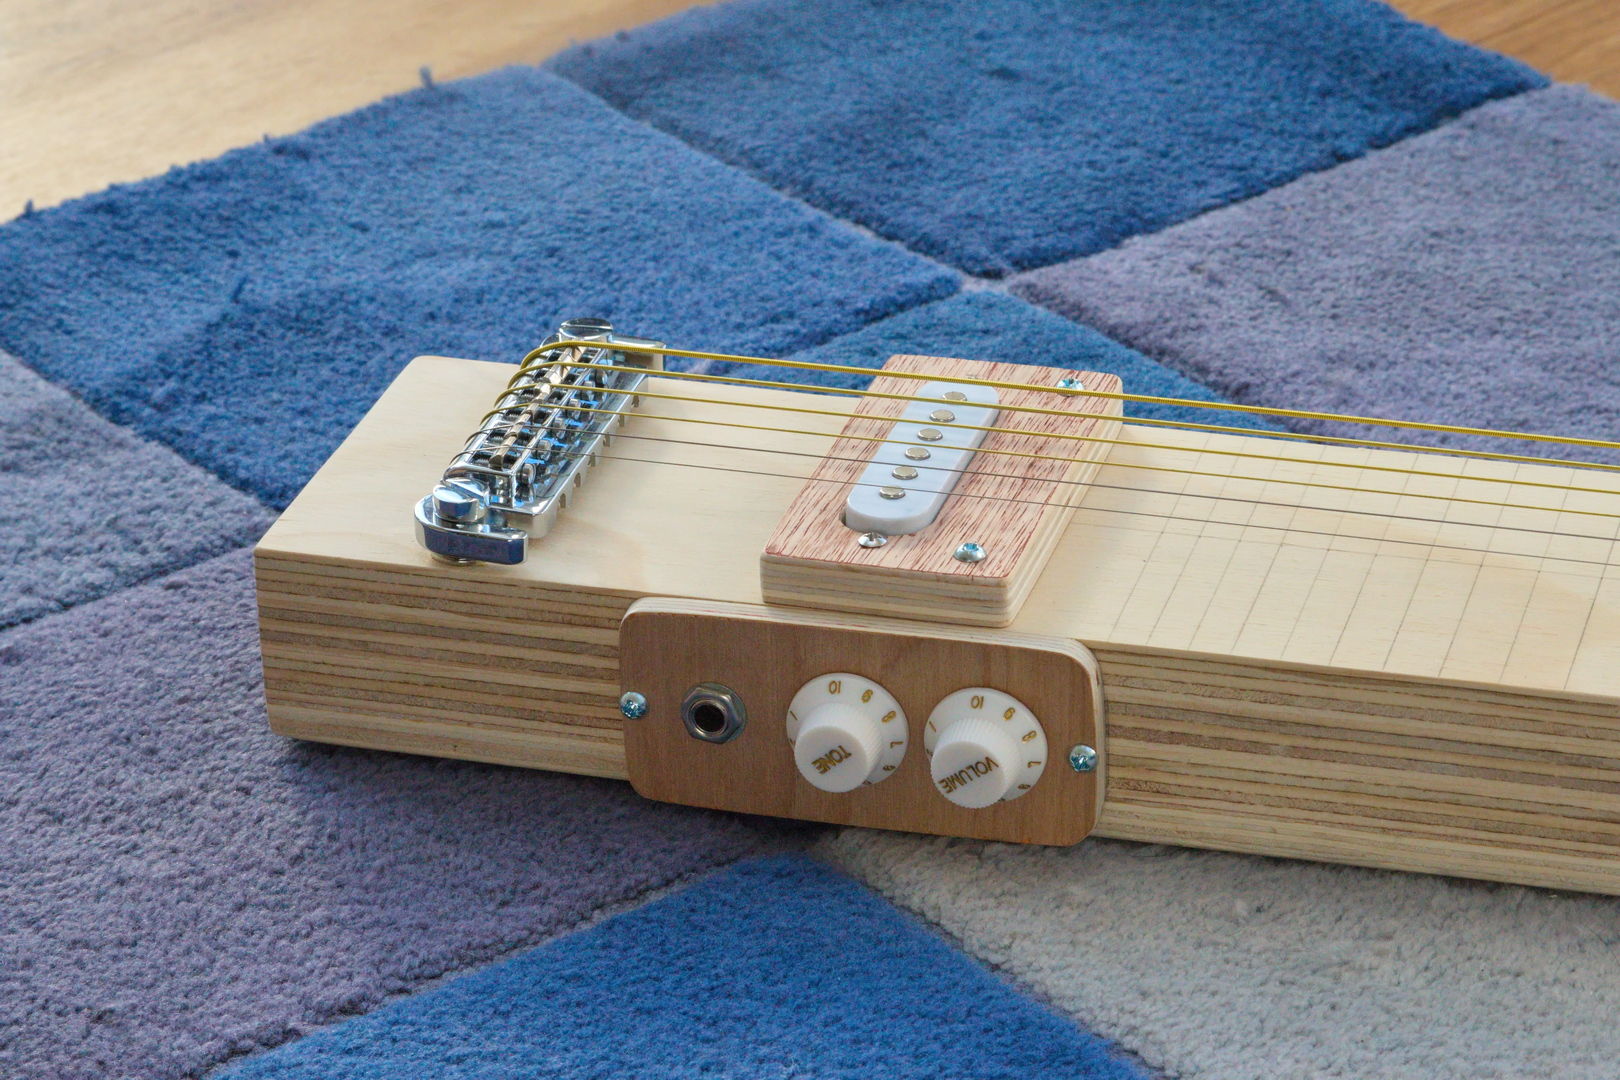
Rather than spend time on a fret board I just marked them out with pencil directly on the body. As you don’t touch the frets on this type of guitar it was the simplest, and quickest, option.
This is where things went a little wrong. After making the nut (the bit that holds the strings at the top of the neck) and adding the strings I tried to tune it and didn’t get any sound.
It turns out, the book I’d been following assuming a much lower bridge than the one I had so there was nearly 10mm between the strings and the pickup so it didn’t work at all.
This meant I had to quickly make another pickup cover, this time out of 12mm ply, and cut a recess in it to allow the pickup to come further up/out.
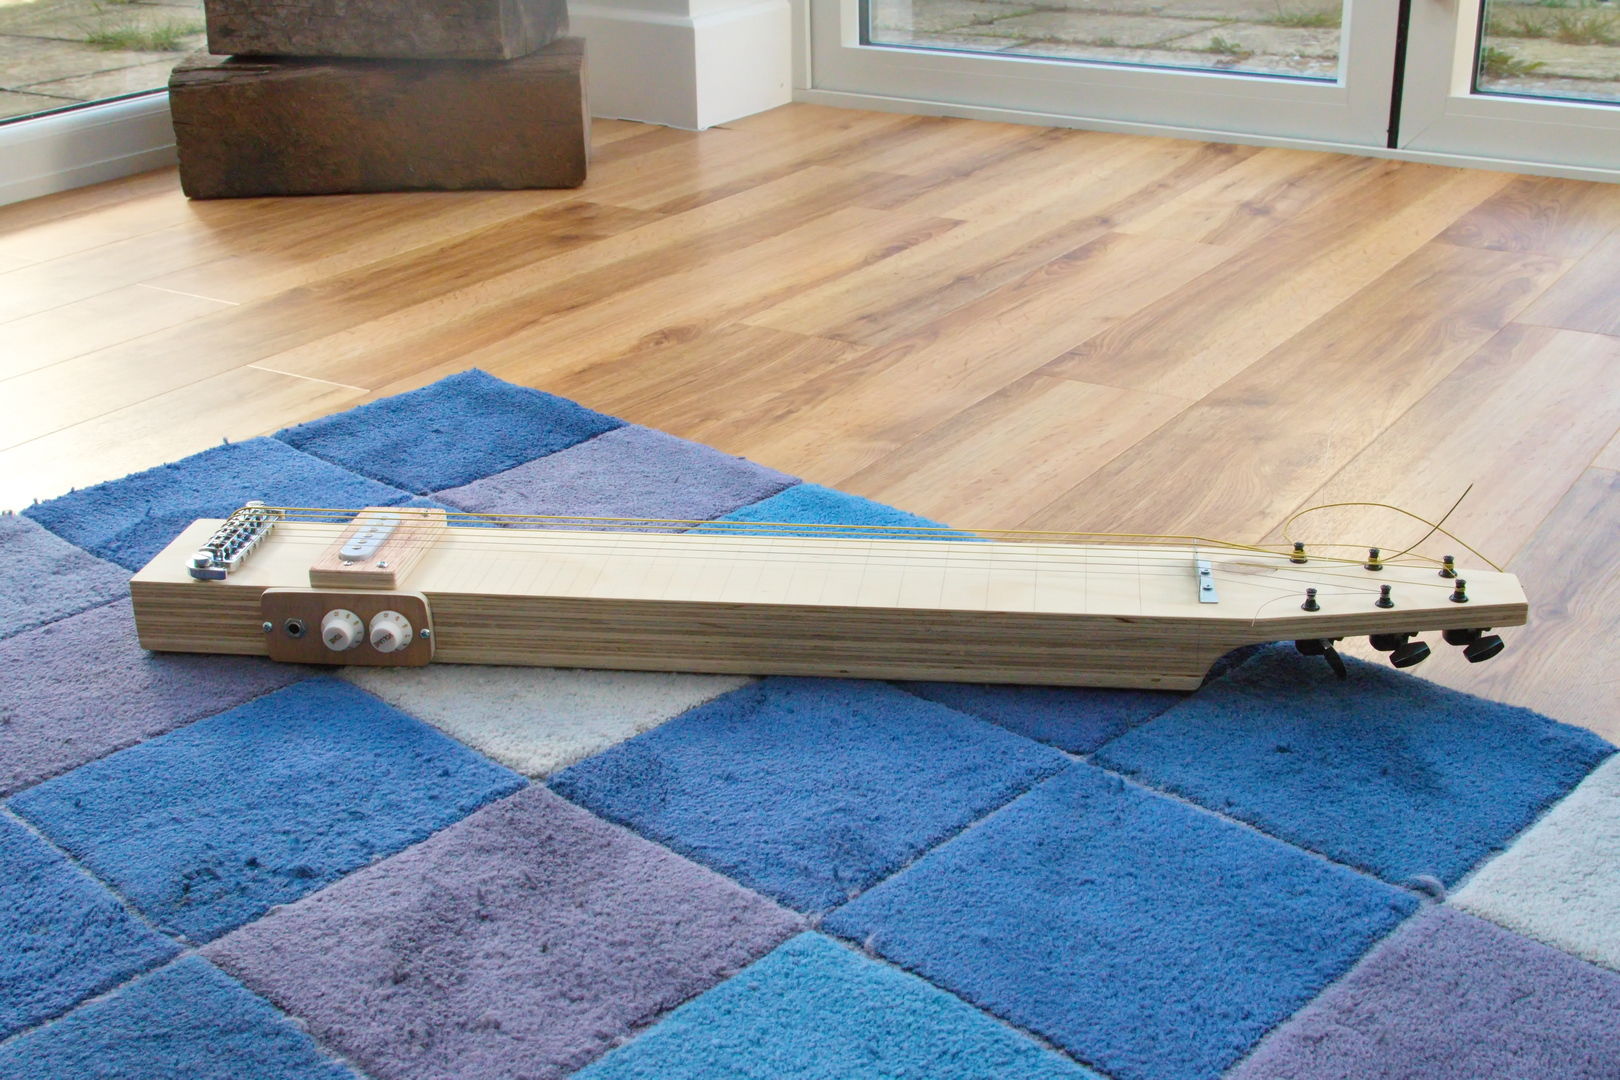
After switching the pickup cover everything worked.
Future work
After playing around a little I’ve already decided I need to make a new nut, as the spacing between the strings recommended is a little too much with the slide I’ve got. I'm going to try 3D printing one, which I think will work as PLA is pretty hard.
Now I guess I’ve got to learn how to play the thing and decide if I’m going to finish the other one or not.
Pictures


While I was trying to take these pictures, the girls turned up and decided to help.
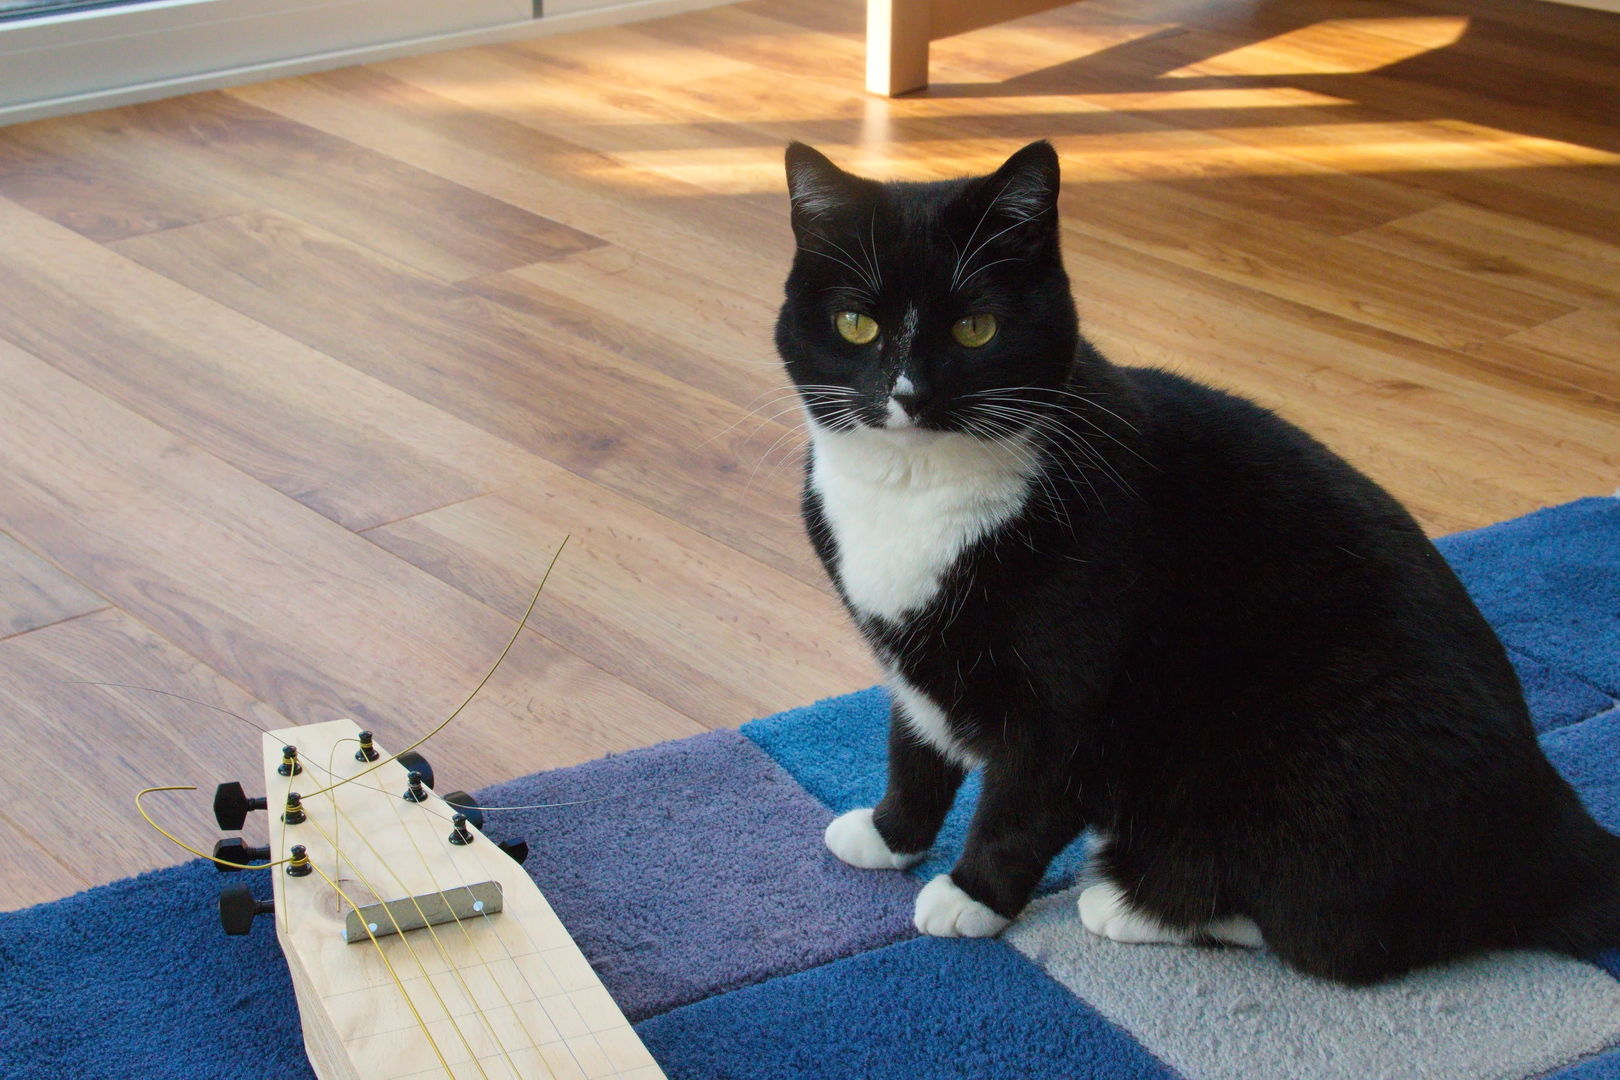
Kira inspects the head of the guitar.
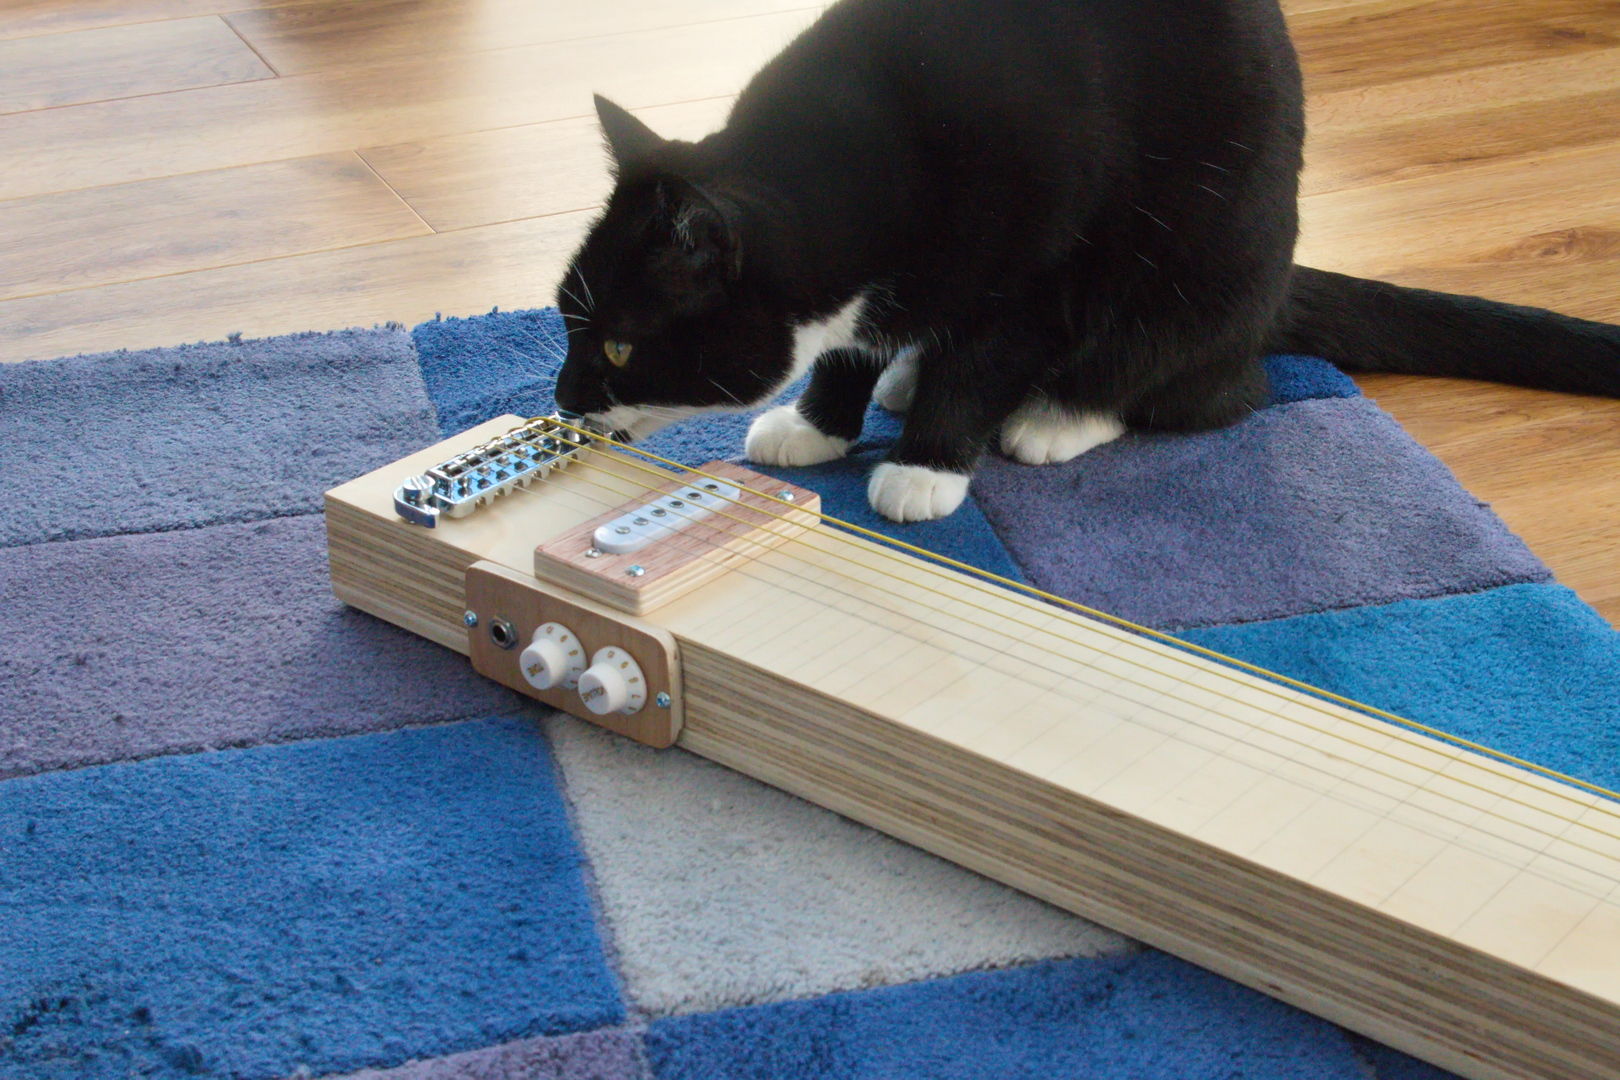
Kari ensures the bridge is set correctly.