Neos SmartCam Teardown
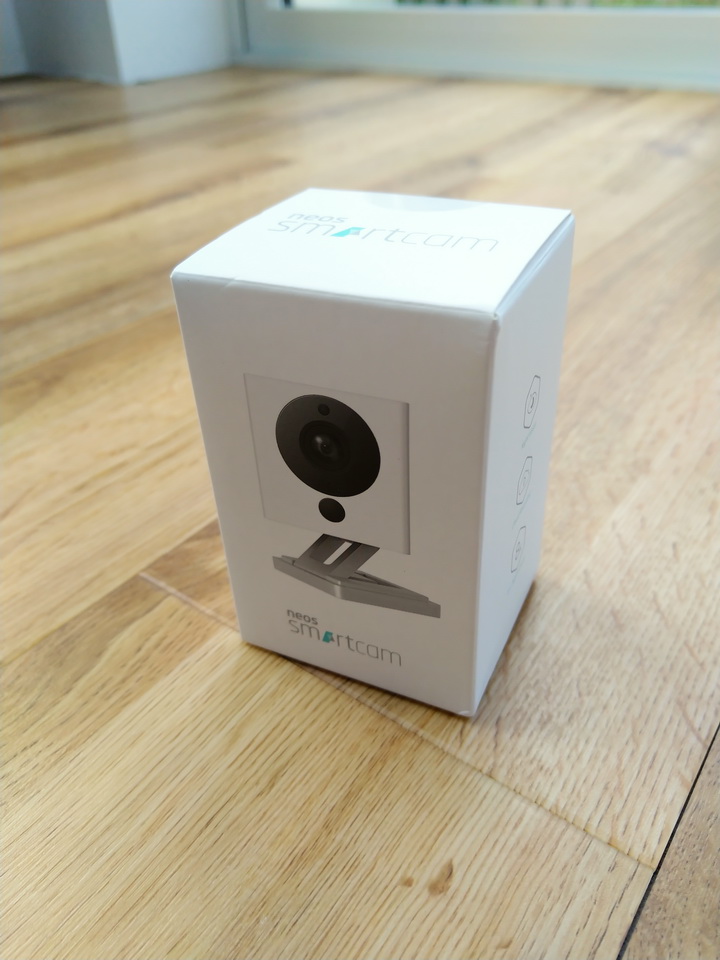
18 Mar 2019A quick teardown this week. Some people I know on Twitter were talking about the Neos SmartCam, a Wi-Fi enabled camera. Nicky wants a replacement for a camera that failed last year, ready for when the new puppy turns up, so at £25 it seemed worth a go.
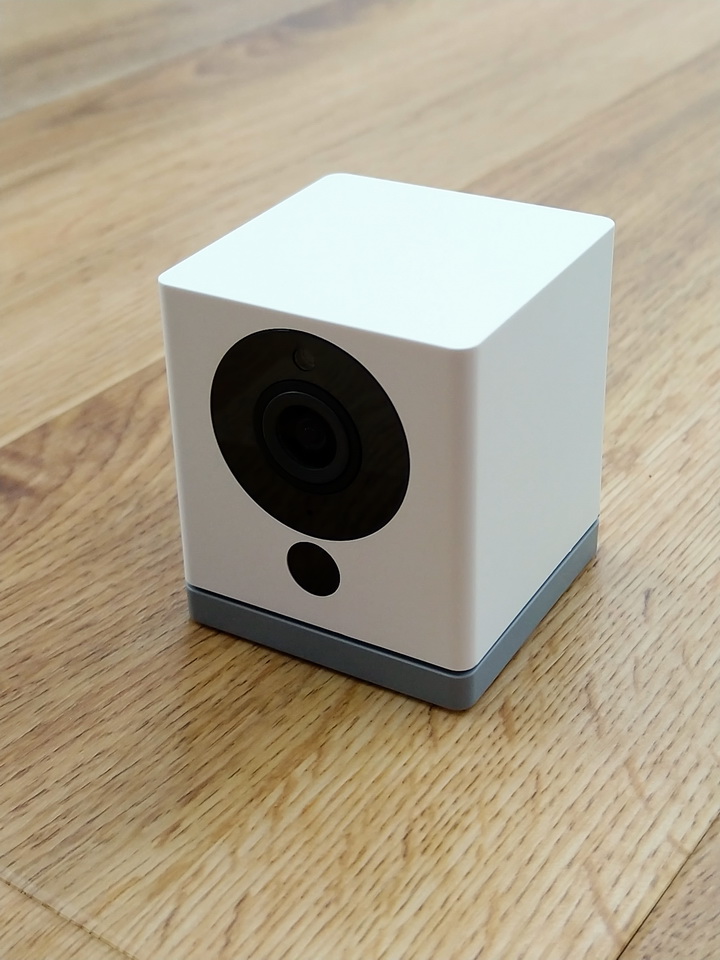
It reminded me of the Xiaomi Xiaofang, and it turns out that’s exactly what it is, just running different firmware and app made by Neos (a UK company).
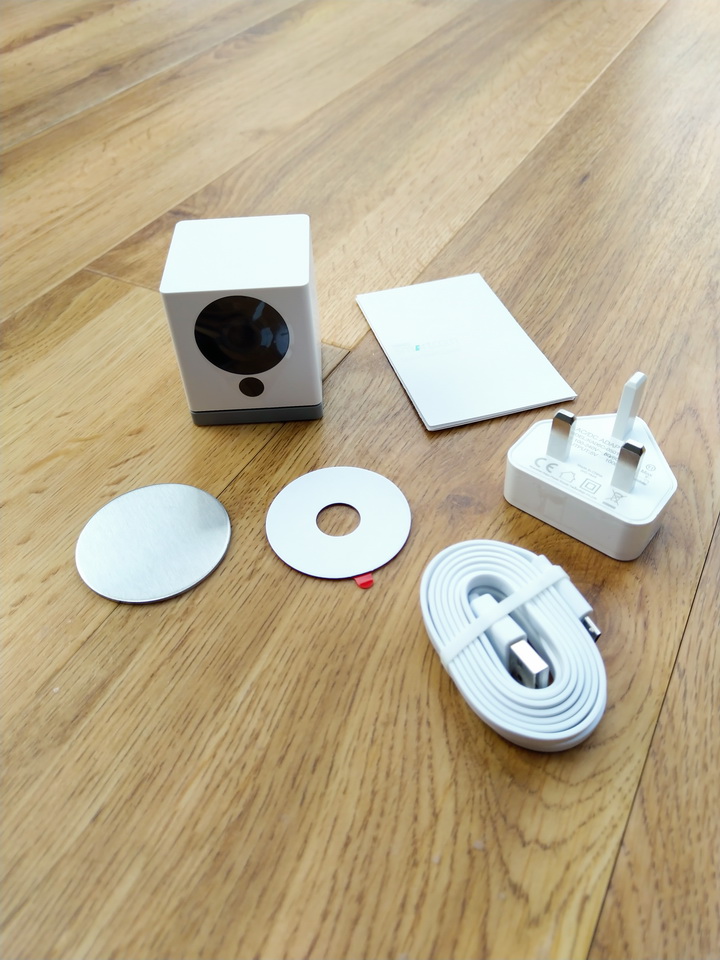
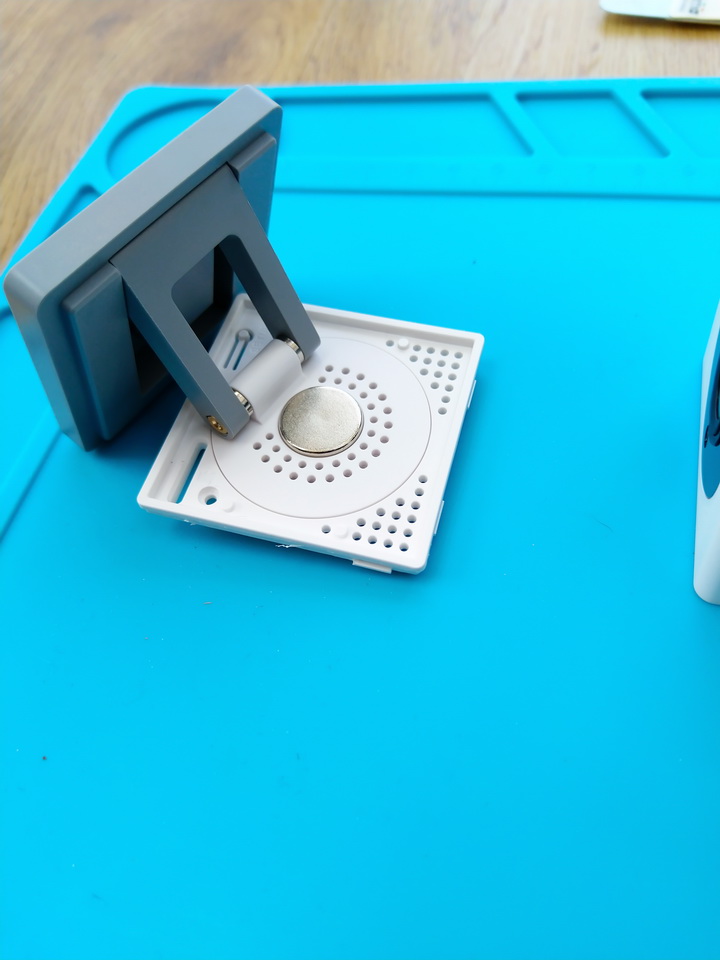
As the camera is so light you can just stick the metal disc to a wall with the sticky pad provided and the magnets in the base hold it in place.

The setup process is all done through the app. Once you’ve entered the Wi-Fi details it shows a QR code, which you show to the camera to transfer the info over. After it had a firmware update, and I knew it worked, it was time to pull it apart.
The teardown
This is a rough guide to opening the camera, don’t blame me if you try to do it and break something. That said, it’s easy to get into.
First turn it upside down and remove the two screws.

Now you need to get a metal spudger in the gap and lift the bottom up.
There’s a clip near the back on both sides and two more on the back, you can see them clearly on this picture.
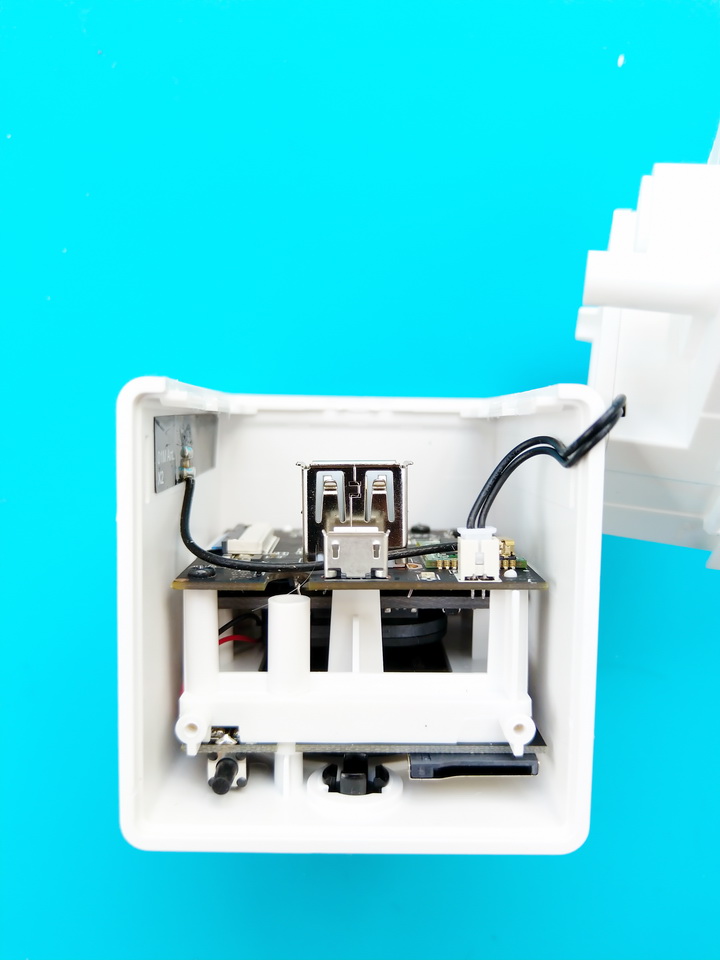
Once you’ve done that, you’ll get your first look at the insides.
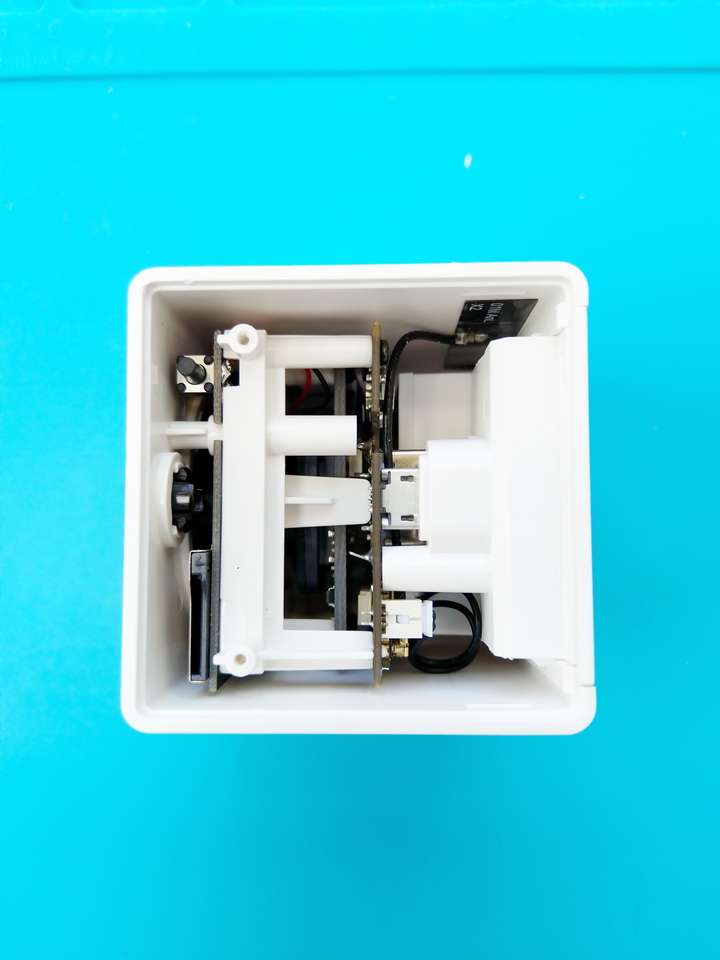
Now the back needs to come off. There’s two clips on each side, and they’re tighter than the ones on the bottom so need a little more force. Same routine as last time, try to lift the back upwards, pushing the sides out, with a metal spudger.
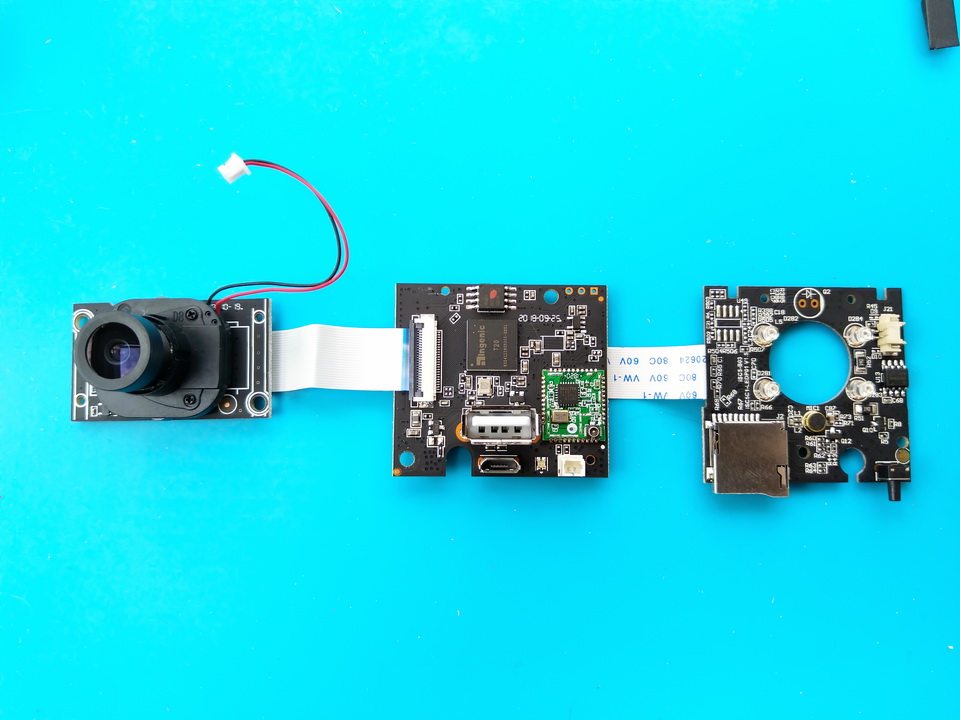
With the back removed you can see the processor on the stack of boards inside.
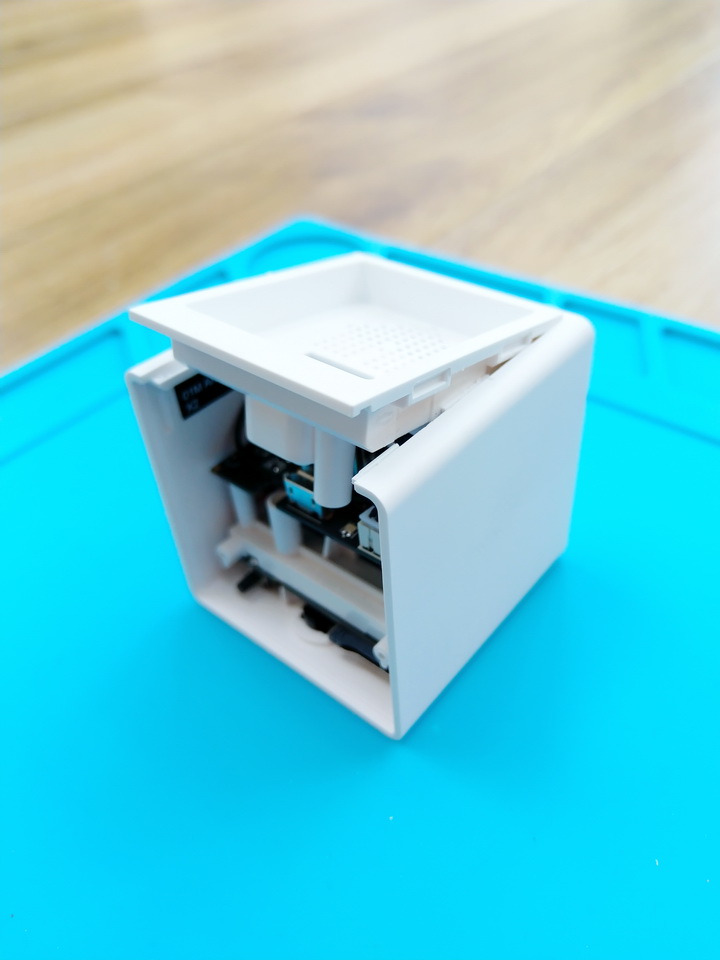
The cut out in the PCB to the left of the micro-USB port gives you access to the screw at the front of the case that you need to remove to get the stack out.
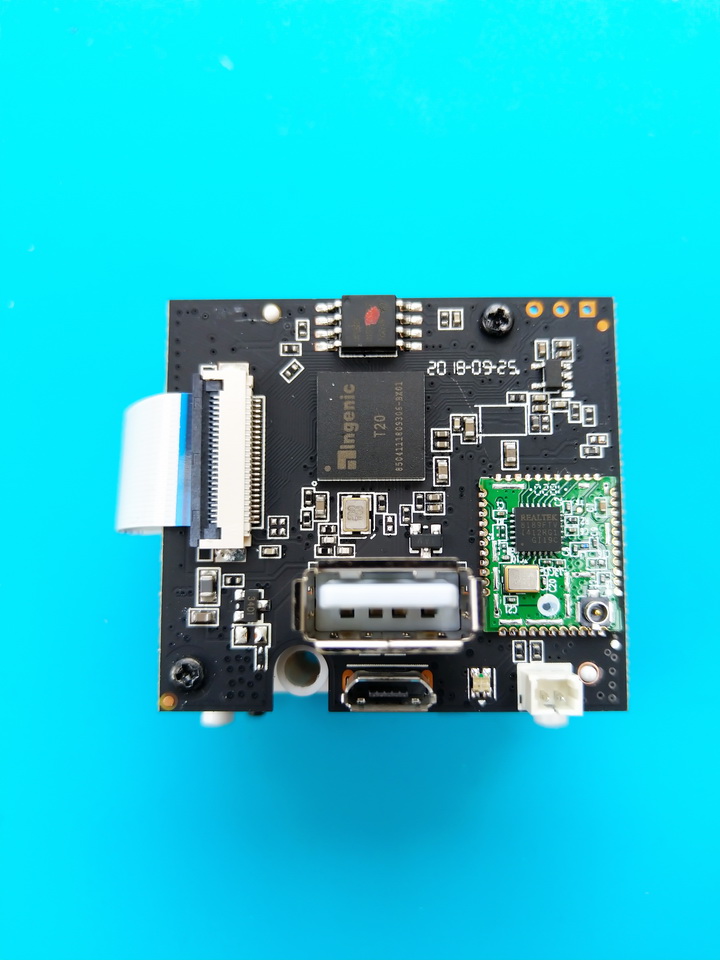
To do this, first remove the black and white cable on the top board, which connects the speaker on the back. Then lift the connector for the Wi-Fi antenna (the black patch on the left-hand side of the base) straight up, it’s easiest to do this with tweezers. You can now unscrew the stack from the case using a long screwdriver and the hole mentioned above. Once it’s free, you can lift the stack upwards, so the front of the lens is clear of the hole in the front then slide it towards you (out of the bottom) to remove it.
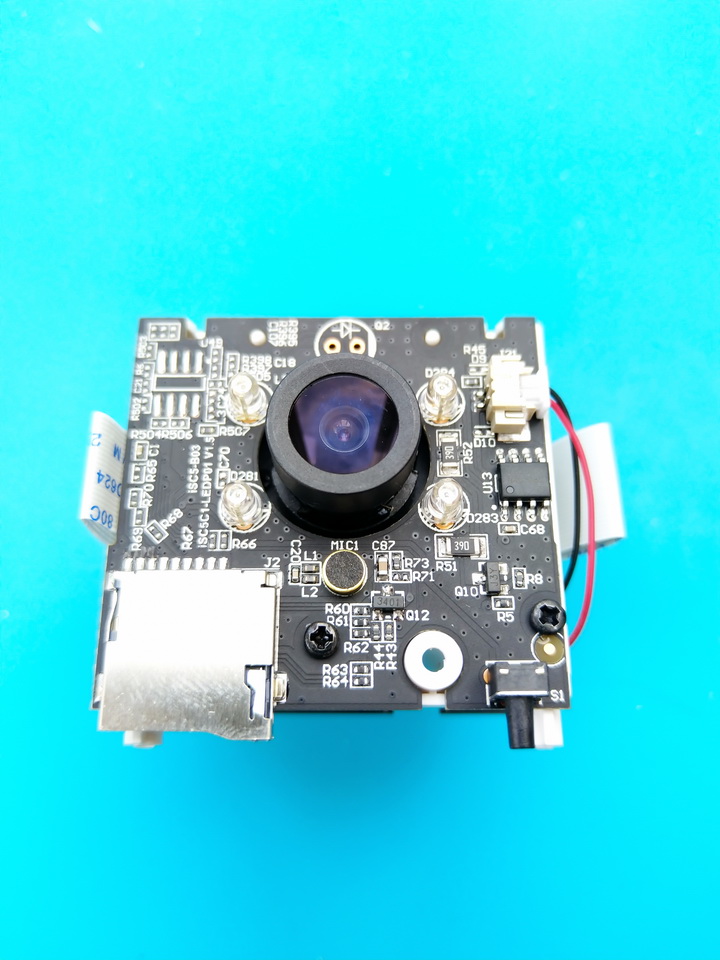
If you want to pull the thing apart fully you can disconnect the red and black cable then remove the screws to unfold the stack flat. Just don’t remove the screws in the middle of the middle board, as these attach the camera. It probably won’t hurt, but you’ll risk getting dust on the sensor.
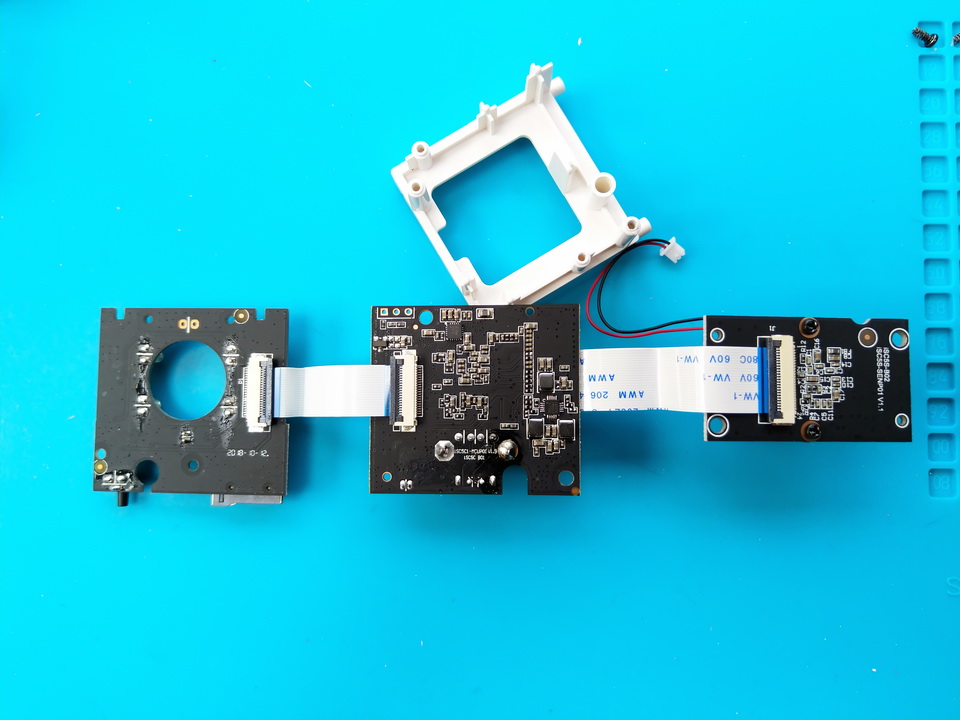
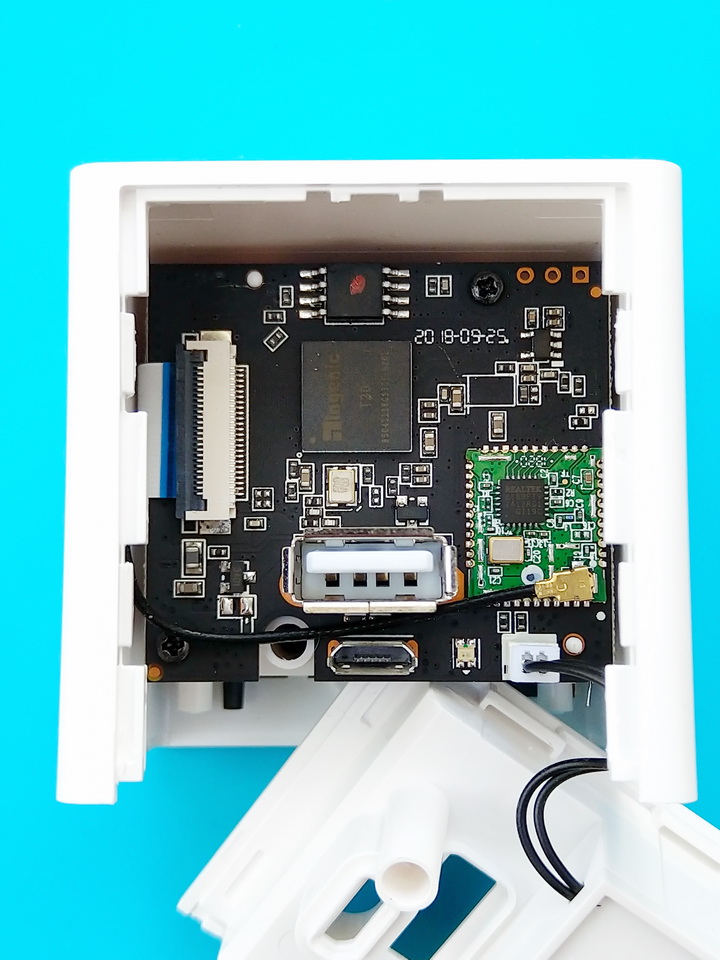
The main chip is the Ingenic T20 (http://www.ingenic.com.cn/en/?product/id/14.html). It’s a 1Ghz 32-bit MIPS core, with FPU, built-in DDR2 (64/128MB), image and video processors. The built in H.264 encoder can even manage 1080p at 60FPS, so it’s a pretty powerful chip, designed to be used in these cameras.
If you do some digging around you’ll find guides on the hardware, as well as some replacement firmware’s written by other people (not for the Neos version). I'm guessing the flash is the chip with the red mark on it next to the processor.